 ×
×
 ☰
☰
As the most used frontend framework, React is a powerfool tool used by millions of websites. And yet, managing environment variables in React is still tricky in 2022. In the following article, we will see how to use environment variables efficiently.
Using environement variables comes with its share of good practices. Indeed, using environment variables can lead to dangerous security threats if they are not used carefully. By using the right tool, you can check your good practices and even automatize them. This is why Onboardbase was created : it is a tool that will make your environement variables secure and easy to use.
A React environment variable is a variable that is available to a React application at runtime. These variables can be used to store information that is specific to the environment in which the application is running, such as the URL of a database server or a public API key for a third-party service.
If you use the Create React App utility, React environment variables start with REACT_APP_. If you use Next.js, your variables must start with NEXT_PUBLIC_:
NEXT_PUBLIC_API_KEY = <a public key>Depending on the meta-framework you use to run React, the syntax will vary. But the concept remains the same.
Since React is client-facing, you must avoid using or storing sensitive secrets as environment variables at all costs because they will be publicly available.
Creation a new React project is quick and simple. We will use the Create-react-app method that will facilitate environment variables creation. To do so, run the following command:
npx create-react-app <name of the project>Once your repository is created, you should have something like this when you open it in your IDE:
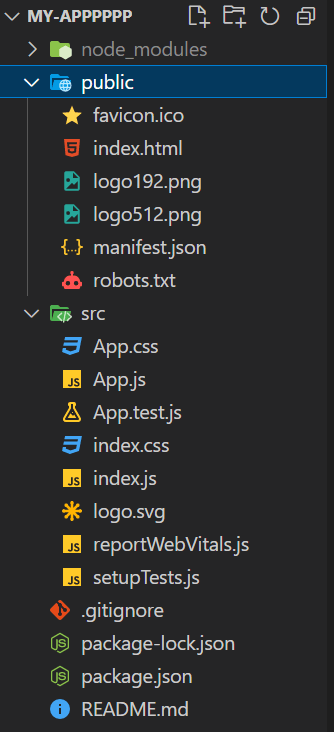
Note that Git is already initialized. Check the official documentation for further informations about the content of the folder you just created. We are going to delete a few files to get to this :
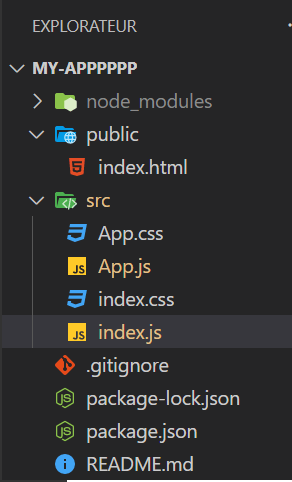
The good thing with Create-react-app is that the package “dotenv” is already installed plus you can use it in the brower if and only if you precede your environment variable name by REACT_APP.
First of all, create a .env file in the src folder :
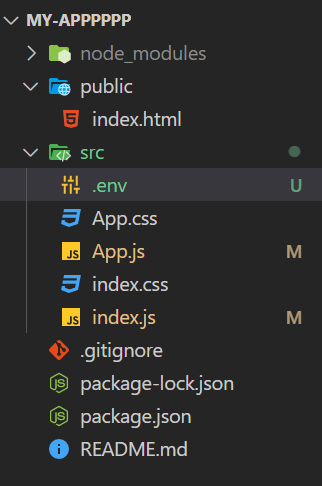
Now, in the folder create your first environment variable :

Never forget to always add your .env files to .gitignore.
You can custom your .env files depending on the application’s environement :
.env is the default environement, you can use these to specify your environment :
.env.development .env.test .env.production
Check this documentation to customize your environment variables files.
You can have access your environment variable with the usual process.env object. Unlike in a server-side NodeJS program, a React environment variable will be populated at build time by the bundler:
<p>this is an env variable: {process.env.REACT_APP_PUBLIC_KEY}</p>Or directly in your index.html file, to call an external script for example:
<script>const pk = '%REACT_APP_PUBLIC_KEY%'</script>With Onboardbase, you can speed up environment configuration:
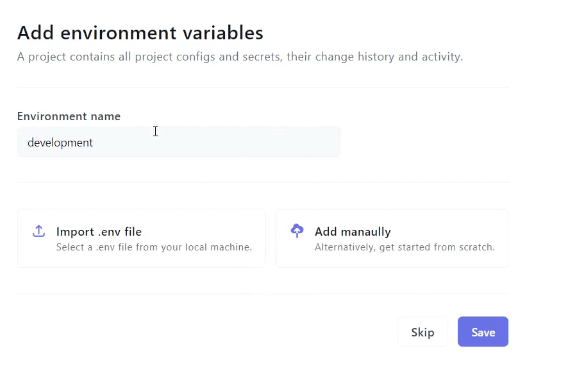
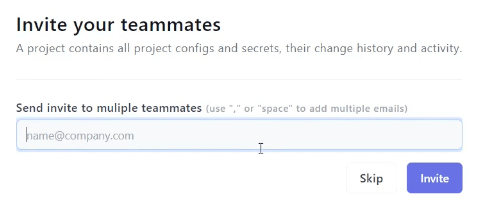
With Onboardbase, you environment variables are now encrypted and stored in a central place that’s easily accessible to your whole frontend team. (Check our blog articles on how we encrypt your secrets). You can get rid of any .env file remaining and avoid complicated setups.
Then, in your React project, install Onboardbase CLI with npm:
npm i -g @onboardbase/cli@latestNow you can use Onboardbase CLI “setup” command to link your project to Onboardbase’s vault:
onboardbase setupAnd then replace your “start” script with the following command:
"onboardbase run --command=\"react-scripts start""Whenever you run npm run start, all your environment variables will be imported from Onboardbase and made available in your React app. Just like it would with a regular env file but with extra security and speed.
Source: OnBoardBase